
Managing Virtual Tour Leads in the 360are CRM
The 360are CRM keeps submitted inquiries in the admin section so you can return to them, review the visitor's message, and track your follow-up. You can also import your own leads to keep contacts together.
Availability
CRM access and importing your own leads are available with BUSINESS and higher plans. Lead capture and its email notifications are available with PLUS and higher. Check current plans when choosing the workflow you need.
To collect requests from a tour, first enable lead capture.
Open the Lead Directory
- Sign In to the account that owns the tour or lead records.
- Open Leads in the admin section.
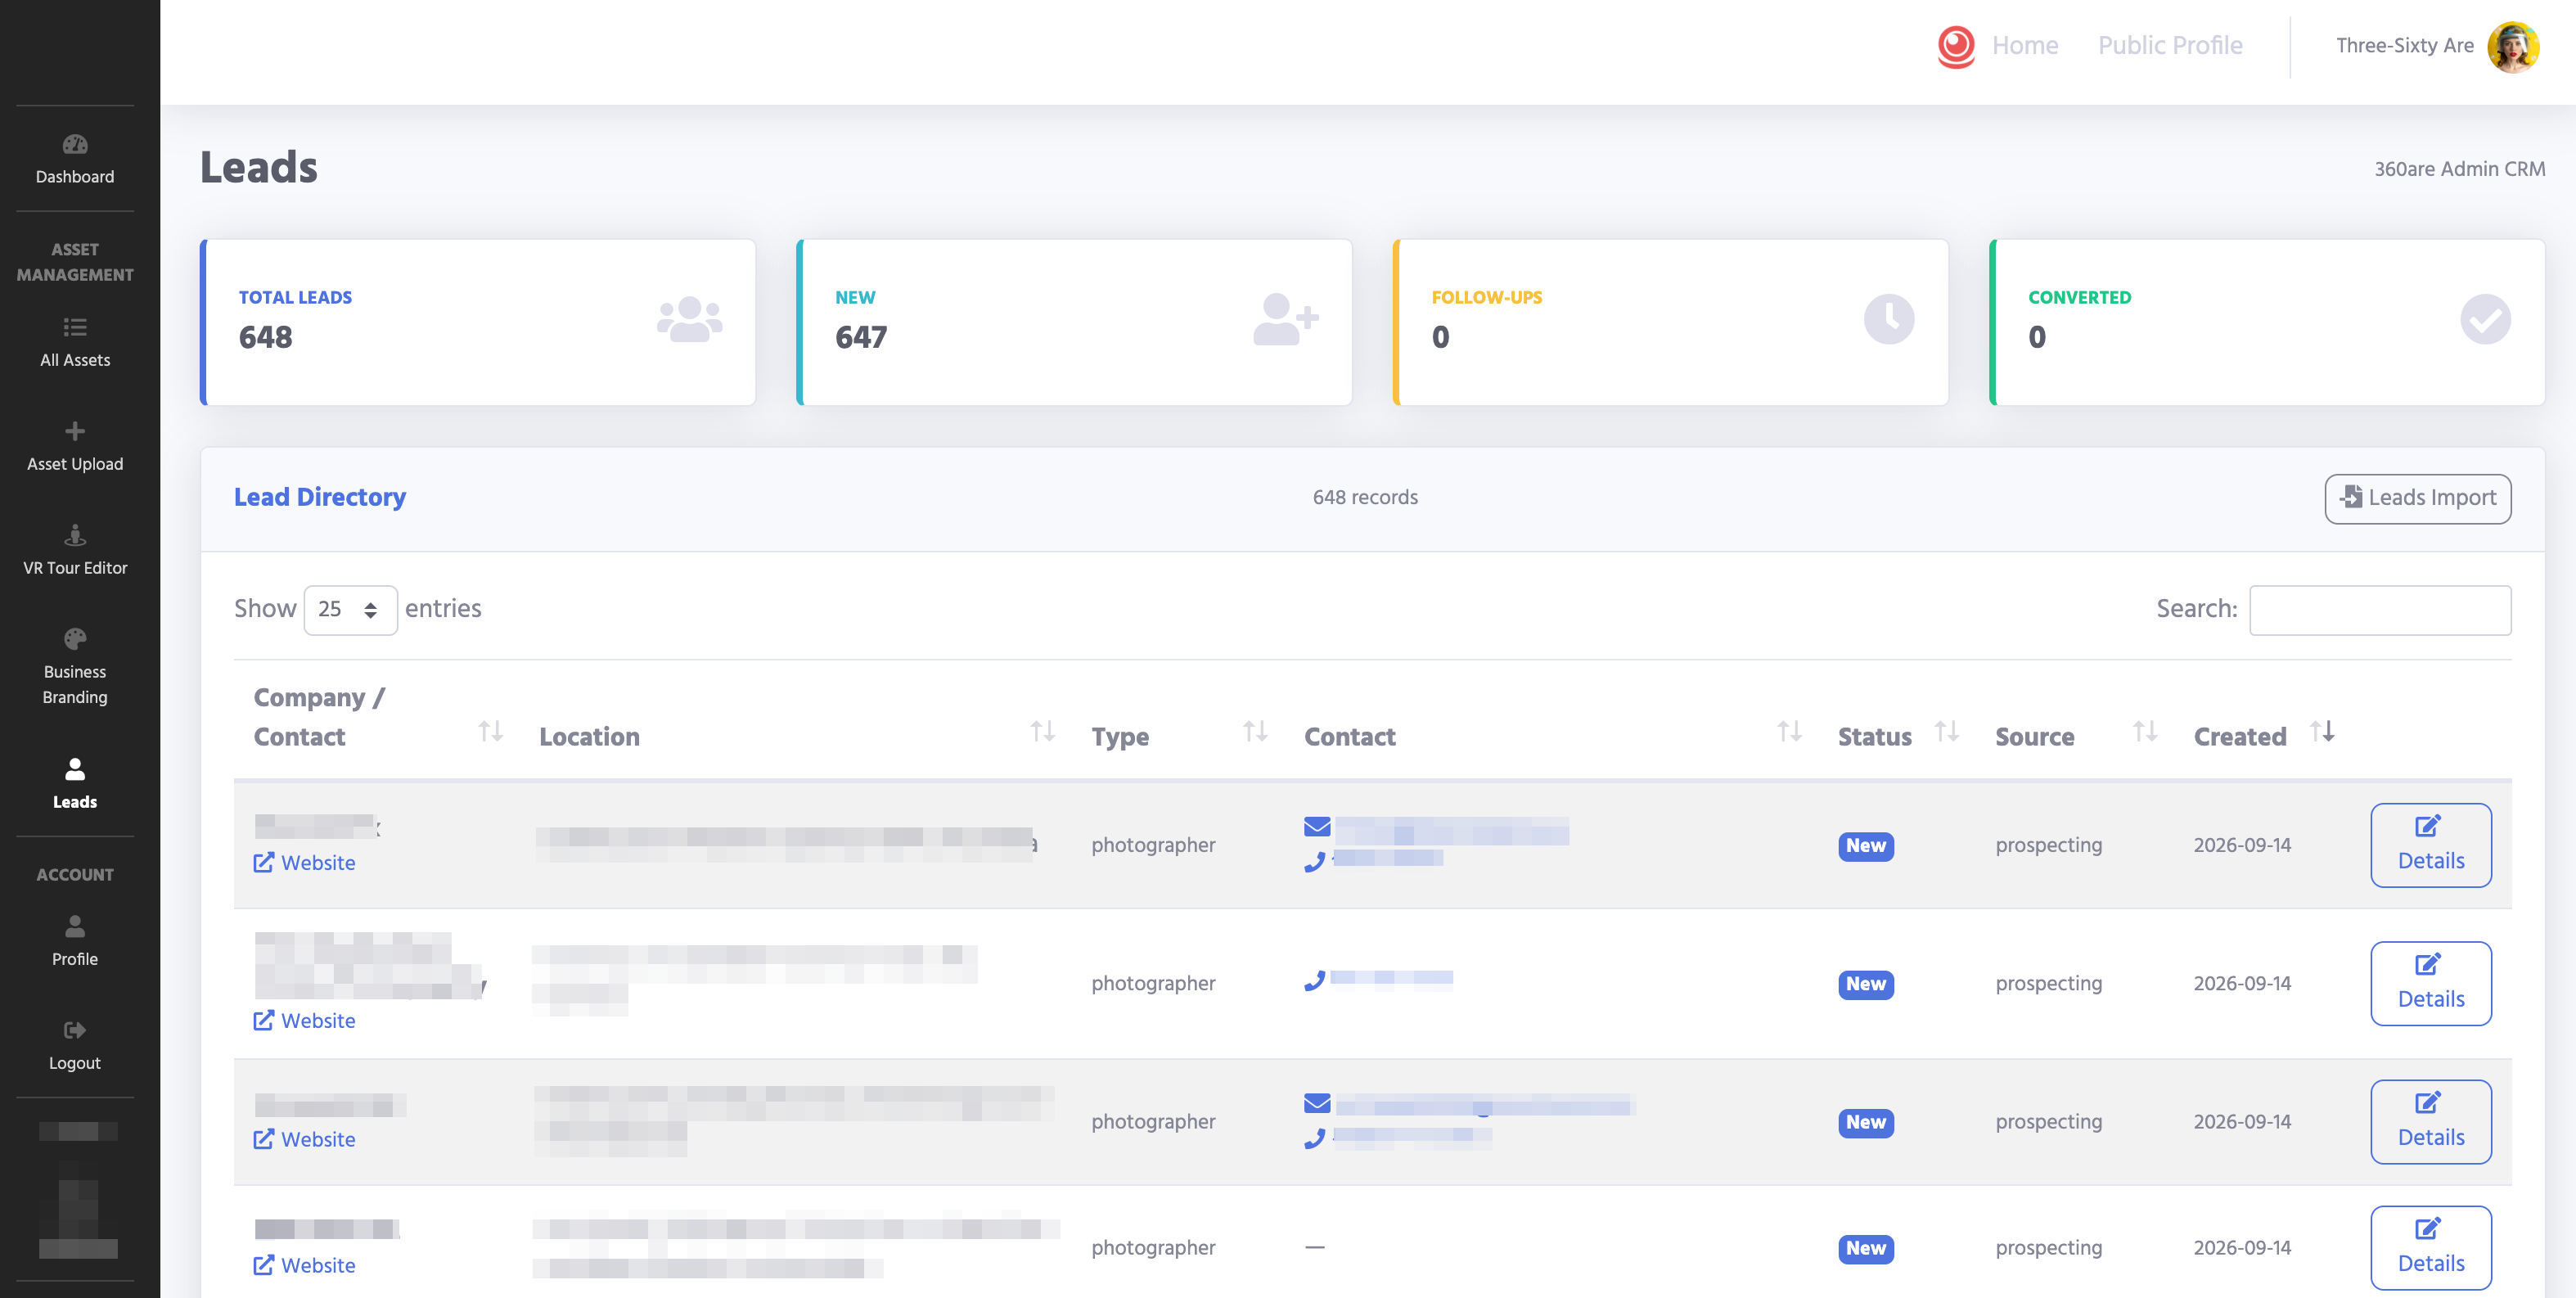
- Find the inquiry in the Lead Directory.
- Select Details to open the record.
The directory shows information such as the company or contact, location, type, contact details, status, source, and creation date. An email notification helps you notice a tour submission; the stored record lets you return to it later.
Review and Update a Record
The Lead Details window groups information into tabs:
| Tab | What to review |
|---|---|
| Contact | Name, company, email, phone, and location details |
| Lead & Sales | Status, priority, and follow-up information |
| Source | Available information about where the lead came from |
| Details & Notes | The message, interests, and your notes |
Read the visitor's message before responding. If you update a field or add notes, select Save Changes before closing the record.
Use notes for a short record of your conversation and the next action. For example: “Asked about a Saturday viewing; waiting for the property manager to confirm availability.” Keep the original inquiry intact where possible so you retain its context.
Track Follow-up
Use a status that reflects what has actually happened. Available choices include New, Contacted, Replied, Qualified, Interested, Follow Up, Converted, Not Interested, and Closed.
A simple working routine is:
- Review new inquiries and decide what response is needed.
- Contact the person using the details they supplied.
- Update the status and record useful notes.
- Set Next Follow-up when another action is needed.
- Revisit the record after that action and update the outcome.
Treat the follow-up date as a record of your next action; do not rely on it as a promise of an automatic reminder or email.
Import Your Own Leads
- Open Leads and select Leads Import.
- Download the sample template from the import screen to see the supported column names.
- Prepare your contacts as CSV, including the header row. Keep phone numbers and postal codes as text in your spreadsheet so leading zeros are preserved.
- Use Upload CSV file or paste the CSV into Paste CSV.
- Give the Import Batch a recognizable name so you can identify the group later.
- Select Preview Import.
- Review the proposed matches and actions. Correct unexpected matches or source data before proceeding.
- Select Import Leads when the preview is correct, then review the results and a few imported records.
The preview can identify existing records. Inspect those matches before importing rather than assuming that every row will create a new contact. A small first batch is easier to review than an entire contact list.
Get Help With a Lead or Import
If records are missing, changes do not save, or an import fails, use the 360are contact form. Include the action you attempted, any error message, the approximate time, and your browser. For an import issue, include the batch name and CSV column headings; provide a small example with private contact details removed if needed.